awx 최소 사양은 아래와 같습니다. TEST 구성의 경우 CPU, Memory는 같고 가상 VM으로 진행하였습니다.
----------------------------------------------------------------------
ubuntu 20.04 / 18.04 LTS Server
Memory 8G
4CPU
10GB free disk storage (TEST 구성은 50GB DISK 1EA 사용 하였습니다.)
root or user with sudo for ssh (TEST에서는 root로 진행하였습니다.)
----------------------------------------------------------------------
1. OS 패키지를 최신으로 업데이트 진행 합니다. 업그레이드 완료 후 재부팅 필요합니다.
root@awxtest:~# apt update && apt -y upgrade
Hit:1 [<http://kr.archive.ubuntu.com/ubuntu>](<http://kr.archive.ubuntu.com/ubuntu>) focal InRelease
Hit:2 [<http://kr.archive.ubuntu.com/ubuntu>](<http://kr.archive.ubuntu.com/ubuntu>) focal-updates InRelease
Hit:3 [<http://kr.archive.ubuntu.com/ubuntu>](<http://kr.archive.ubuntu.com/ubuntu>) focal-backports InRelease
Hit:4 [<http://kr.archive.ubuntu.com/ubuntu>](<http://kr.archive.ubuntu.com/ubuntu>) focal-security InRelease
Reading package lists... Done
Building dependency tree
Reading state information... Done
44 packages can be upgraded. Run 'apt list --upgradable' to see them.
Reading package lists... Done
Building dependency tree
Reading state information... Done
Calculating upgrade... Done
The following package was automatically installed and is no longer required:
libfwupdplugin1
Use 'apt autoremove' to remove it.
The following NEW packages will be installed:
libfwupdplugin5 libmbim-glib4 libmbim-proxy libmm-glib0 libqmi-glib5 libqmi-proxy modemmanager
usb-modeswitch usb-modeswitch-data
The following packages will be upgraded:
alsa-ucm-conf base-files cloud-init cloud-initramfs-copymods cloud-initramfs-dyn-netconf
command-not-found fwupd fwupd-signed initramfs-tools initramfs-tools-bin initramfs-tools-core
libasound2 libasound2-data libfwupd2 libjcat1 libnetplan0 libpam-modules libpam-modules-bin
libpam-runtime libpam0g libprocps8 libudisks2-0 linux-base motd-news-config [netplan.io](<http://netplan.io/>) open-vm-tools
overlayroot procps python-apt-common python3-apt python3-commandnotfound python3-distupgrade
python3-software-properties python3-update-manager rsync software-properties-common sosreport
ubuntu-advantage-tools ubuntu-release-upgrader-core udisks2 ufw update-manager-core
update-notifier-common wget
44 upgraded, 9 newly installed, 0 to remove and 0 not upgraded.
Need to get 9935 kB of archives.
After this operation, 12.7 MB of additional disk space will be used.
Get:1 [<http://kr.archive.ubuntu.com/ubuntu>](<http://kr.archive.ubuntu.com/ubuntu>) focal-updates/main amd64 motd-news-config all 11ubuntu5.5 [4472 B]
Get:2 [<http://kr.archive.ubuntu.com/ubuntu>](<http://kr.archive.ubuntu.com/ubuntu>) focal-updates/main amd64 base-files amd64 11ubuntu5.5 [60.5 kB]
root@awxtest:~# reboot
2. 단일 노드 Kubernetes 사용을 위해 K3s를 설치합니다. 인증된 배포판으로 후에 노드를 추가 할 수 있고 systemd 또는 opensrc 기반 시스템에도 구성 가능 합니다.
3. 설치 후 k3s.yml 권한을 변경합니다.
root@awxtest:~# curl -sfL [<https://get.k3s.io>](<https://get.k3s.io/>) | sudo bash -
[INFO]  Finding release for channel stable
[INFO]  Using v1.22.7+k3s1 as release
[INFO]  Downloading hash [<https://github.com/k3s-io/k3s/releases/download/v1.22.7+k3s1/sha256sum-amd64.txt>](<https://github.com/k3s-io/k3s/releases/download/v1.22.7+k3s1/sha256sum-amd64.txt>)
[INFO]  Downloading binary [<https://github.com/k3s-io/k3s/releases/download/v1.22.7+k3s1/k3s>](<https://github.com/k3s-io/k3s/releases/download/v1.22.7+k3s1/k3s>)
[INFO]  Verifying binary download
[INFO]  Installing k3s to /usr/local/bin/k3s
[INFO]  Skipping installation of SELinux RPM
[INFO]  Creating /usr/local/bin/kubectl symlink to k3s
[INFO]  Creating /usr/local/bin/crictl symlink to k3s
[INFO]  Creating /usr/local/bin/ctr symlink to k3s
[INFO]  Creating killall script /usr/local/bin/k3s-killall.sh
[INFO]  Creating uninstall script /usr/local/bin/k3s-uninstall.sh
[INFO]  env: Creating environment file /etc/systemd/system/k3s.service.env
[INFO]  systemd: Creating service file /etc/systemd/system/k3s.service
[INFO]  systemd: Enabling k3s unit
Created symlink /etc/systemd/system/multi-user.target.wants/k3s.service → /etc/systemd/system/k3s.service.
[INFO]  systemd: Starting k3s
root@awxtest:~#
root@awxtest:~# chmod 644 /etc/rancher/k3s/k3s.yaml
4. 설치가 끝나면 아래 명령으로 k3s 설치 검증을 합니다.
root@awxtest:~# kubectl get nodes
NAME      STATUS   ROLES                  AGE   VERSION
awxtest   Ready    control-plane,master   49s   v1.22.7+k3s1
root@awxtest:~# kubectl version --short
Client Version: v1.22.7+k3s1
Server Version: v1.22.7+k3s1
5. 검증 완료 후 업데이트를 진행합니다.
root@awxtest:~# apt update
Hit:1 [<http://kr.archive.ubuntu.com/ubuntu>](<http://kr.archive.ubuntu.com/ubuntu>) focal InRelease
Hit:2 [<http://kr.archive.ubuntu.com/ubuntu>](<http://kr.archive.ubuntu.com/ubuntu>) focal-updates InRelease
Hit:3 [<http://kr.archive.ubuntu.com/ubuntu>](<http://kr.archive.ubuntu.com/ubuntu>) focal-backports InRelease
Hit:4 [<http://kr.archive.ubuntu.com/ubuntu>](<http://kr.archive.ubuntu.com/ubuntu>) focal-security InRelease
Reading package lists... Done
Building dependency tree
Reading state information... Done
All packages are up to date.
6. 업데이트 완료 후 추가 패키지 설치 합니다. git, build-essential
root@awxtest:~# apt install git build-essential
Reading package lists... Done
Building dependency tree
Reading state information... Done
git is already the newest version (1:2.25.1-1ubuntu3.2).
git set to manually installed.
The following package was automatically installed and is no longer required:
libfwupdplugin1
Use 'apt autoremove' to remove it.
The following additional packages will be installed:
binutils binutils-common binutils-x86-64-linux-gnu cpp cpp-9 dpkg-dev fakeroot g++ g++-9 gcc gcc-9
gcc-9-base libalgorithm-diff-perl libalgorithm-diff-xs-perl libalgorithm-merge-perl libasan5
libatomic1 libbinutils libc-dev-bin libc6-dev libcc1-0 libcrypt-dev libctf-nobfd0 libctf0
libdpkg-perl libfakeroot libfile-fcntllock-perl libgcc-9-dev libgomp1 libisl22 libitm1 liblsan0
libmpc3 libquadmath0 libstdc++-9-dev libtsan0 libubsan1 linux-libc-dev make manpages-dev
Suggested packages:
binutils-doc cpp-doc gcc-9-locales debian-keyring g++-multilib g++-9-multilib gcc-9-doc gcc-multilib
autoconf automake libtool flex bison gdb gcc-doc gcc-9-multilib glibc-doc bzr libstdc++-9-doc
make-doc
The following NEW packages will be installed:
binutils binutils-common binutils-x86-64-linux-gnu build-essential cpp cpp-9 dpkg-dev fakeroot g++
g++-9 gcc gcc-9 gcc-9-base libalgorithm-diff-perl libalgorithm-diff-xs-perl libalgorithm-merge-perl
libasan5 libatomic1 libbinutils libc-dev-bin libc6-dev libcc1-0 libcrypt-dev libctf-nobfd0 libctf0
libdpkg-perl libfakeroot libfile-fcntllock-perl libgcc-9-dev libgomp1 libisl22 libitm1 liblsan0
libmpc3 libquadmath0 libstdc++-9-dev libtsan0 libubsan1 linux-libc-dev make manpages-dev
0 upgraded, 41 newly installed, 0 to remove and 0 not upgraded.
Need to get 45.4 MB of archives.
After this operation, 202 MB of additional disk space will be used.
Do you want to continue? [Y/n] Y
Get:1 [<http://kr.archive.ubuntu.com/ubuntu>](<http://kr.archive.ubuntu.com/ubuntu>) focal-updates/main amd64 binutils-common amd64 2.34-6ubuntu1.3 [207 kB]
Get:2 [<http://kr.archive.ubuntu.com/ubuntu>](<http://kr.archive.ubuntu.com/ubuntu>) focal-updates/main amd64 libbinutils amd64 2.34-6ubuntu1.3 [474 kB]
7. awx-operator을 git을 이용하여 배포 합니다.
root@awxtest:~# git clone [<https://github.com/ansible/awx-operator.git>](<https://github.com/ansible/awx-operator.git>)
Cloning into 'awx-operator'...
remote: Enumerating objects: 6345, done.
remote: Counting objects: 100% (354/354), done.
remote: Compressing objects: 100% (209/209), done.
remote: Total 6345 (delta 176), reused 271 (delta 133), pack-reused 5991
Receiving objects: 100% (6345/6345), 1.56 MiB | 10.94 MiB/s, done.
Resolving deltas: 100% (3616/3616), done.
8. 배포에 사용할 namespace를 export로 지정합니다. 테스트에서는 awx로 하였습니다. 지정 후 create로 namespace를 생성합니다.
root@awxtest:~# export NAMESPACE=awx
root@awxtest:~# kubectl create ns ${NAMESPACE}
namespace/awx created
9. 아래 명령으로 context를 namespace 변수에 설정된 값으로 설정 합니다.
root@awxtest:~# kubectl config set-context --current --namespace=$NAMESPACE
Context "default" modified.
10. awx-operator 디렉토리로 전환 후 curl, jq 설치 합니다. 그리고나서 awx operator 릴리즈의 최신 버전을 release_tag 변수로 저장한 다음 git을 사용하여 체크아웃합니다.
root@awxtest:~# cd awx-operator/
root@awxtest:~/awx-operator# apt install curl jq
Reading package lists... Done
Building dependency tree
Reading state information... Done
curl is already the newest version (7.68.0-1ubuntu2.7).
curl set to manually installed.
The following package was automatically installed and is no longer required:
libfwupdplugin1
Use 'apt autoremove' to remove it.
The following additional packages will be installed:
libjq1 libonig5
The following NEW packages will be installed:
jq libjq1 libonig5
0 upgraded, 3 newly installed, 0 to remove and 0 not upgraded.
Need to get 313 kB of archives.
After this operation, 1062 kB of additional disk space will be used.
Do you want to continue? [Y/n] Y
Get:1 [<http://kr.archive.ubuntu.com/ubuntu>](<http://kr.archive.ubuntu.com/ubuntu>) focal/universe amd64 libonig5 amd64 6.9.4-1 [142 kB]
Get:2 [<http://kr.archive.ubuntu.com/ubuntu>](<http://kr.archive.ubuntu.com/ubuntu>) focal-updates/universe amd64 libjq1 amd64 1.6-1ubuntu0.20.04.1 [121 kB]
Get:3 [<http://kr.archive.ubuntu.com/ubuntu>](<http://kr.archive.ubuntu.com/ubuntu>) focal-updates/universe amd64 jq amd64 1.6-1ubuntu0.20.04.1 [50.2 kB]
Fetched 313 kB in 2s (165 kB/s)
Selecting previously unselected package libonig5:amd64.
(Reading database ... 77650 files and directories currently installed.)
If you want to create a new branch to retain commits you create, you may
do so (now or later) by using -c with the switch command. Example:
root@awxtest:~/awx-operator# RELEASE_TAG=curl -s <https://api.github.com/repos/ansible/awx-operator/releases/latest> | grep tag_name | cut -d '"' -f 4
root@awxtest:~/awx-operator# echo $RELEASE_TAG
0.19.0
root@awxtest:~/awx-operator# git checkout $RELEASE_TAG
Note: switching to '0.19.0'.
You are in 'detached HEAD' state. You can look around, make experimental
changes and commit them, and you can discard any commits you make in this
state without impacting any branches by switching back to a branch.
git switch -c
Or undo this operation with:
git switch -
Turn off this advice by setting config variable advice.detachedHead to false
HEAD is now at ca6ab0a Merge pull request #844 from rooftopcellist/update-changelog
11. 클러스터에 awx를 배포합니다.
root@awxtest:~/awx-operator# export NAMESPACE=awx
root@awxtest:~/awx-operator# make deploy
Warning: resource namespaces/awx is missing the [kubectl.kubernetes.io/last-applied-configuration](<http://kubectl.kubernetes.io/last-applied-configuration>) annotation which is required by kubectl apply. kubectl apply should only be used on resources created declaratively by either kubectl create --save-config or kubectl apply. The missing annotation will be patched automatically.
namespace/awx configured
[customresourcedefinition.apiextensions.k8s.io/awxbackups.awx.ansible.com](<http://customresourcedefinition.apiextensions.k8s.io/awxbackups.awx.ansible.com>) created
[customresourcedefinition.apiextensions.k8s.io/awxrestores.awx.ansible.com](<http://customresourcedefinition.apiextensions.k8s.io/awxrestores.awx.ansible.com>) created
[customresourcedefinition.apiextensions.k8s.io/awxs.awx.ansible.com](<http://customresourcedefinition.apiextensions.k8s.io/awxs.awx.ansible.com>) created
serviceaccount/awx-operator-controller-manager created
[role.rbac.authorization.k8s.io/awx-operator-awx-manager-role](<http://role.rbac.authorization.k8s.io/awx-operator-awx-manager-role>) created
[role.rbac.authorization.k8s.io/awx-operator-leader-election-role](<http://role.rbac.authorization.k8s.io/awx-operator-leader-election-role>) created
[clusterrole.rbac.authorization.k8s.io/awx-operator-metrics-reader](<http://clusterrole.rbac.authorization.k8s.io/awx-operator-metrics-reader>) created
[clusterrole.rbac.authorization.k8s.io/awx-operator-proxy-role](<http://clusterrole.rbac.authorization.k8s.io/awx-operator-proxy-role>) created
[rolebinding.rbac.authorization.k8s.io/awx-operator-awx-manager-rolebinding](<http://rolebinding.rbac.authorization.k8s.io/awx-operator-awx-manager-rolebinding>) created
[rolebinding.rbac.authorization.k8s.io/awx-operator-leader-election-rolebinding](<http://rolebinding.rbac.authorization.k8s.io/awx-operator-leader-election-rolebinding>) created
[clusterrolebinding.rbac.authorization.k8s.io/awx-operator-proxy-rolebinding](<http://clusterrolebinding.rbac.authorization.k8s.io/awx-operator-proxy-rolebinding>) created
configmap/awx-operator-awx-manager-config created
service/awx-operator-controller-manager-metrics-service created
deployment.apps/awx-operator-controller-manager created
12. 시작 후 아래 명령을 통해 awx operator 실행 된 것을 확인 할 수 있습니다. ready가 0일 경우 몇 분 후 다시 확인하면 됩니다.
root@awxtest:~/awx-operator# kubectl get pods
NAME                                               READY   STATUS              RESTARTS   AGE
awx-operator-controller-manager-6857bd4c9d-vg2lh   2/2     ContainerCreating   0          25s
13. 아래 명령을 통해 static data PVC를 생성합니다. cat <<E0F 부터 하단 E0F 까지 하나의 명령입니다.
root@awxtest:~/awx-operator# cat <<EOF | kubectl create -f -
apiVersion: v1
kind: PersistentVolumeClaim
metadata:
name: static-data-pvc
namespace: awx
spec:
accessModes:
- ReadWriteOnce
storageClassName: local-path
resources:
requests:
storage: 5Gi
EOF
persistentvolumeclaim/static-data-pvc created
14. 아래 명령을 통해 pvc를 확인합니다.
root@awxtest:~/awx-operator# kubectl get pvc -n awx
NAME              STATUS    VOLUME   CAPACITY   ACCESS MODES   STORAGECLASS   AGE
static-data-pvc   Pending                                      local-path
15. 설치된 항목에 대한 기본 정보가 포함된 awx 배포 파일을 생성합니다.
root@awxtest:~/awx-operator# vim awx-deploy.yml
root@awxtest:~/awx-operator# cat awx-deploy.yml
apiVersion: [awx.ansible.com/v1beta1](<http://awx.ansible.com/v1beta1>)
kind: AWX
metadata:
name: awx
spec:
service_type: nodeport
projects_persistence: true
projects_storage_access_mode: ReadWriteOnce
web_extra_volume_mounts: |
- name: static-data
mountPath: /var/lib/projects
extra_volumes: |
- name: static-data
persistentVolumeClaim:
claimName: static-data-pvc
16. 구성 매니페스트 파일을 적용합니다.
root@awxtest:~/awx-operator# kubectl apply -f awx-deploy.yml
[awx.awx.ansible.com/awx](<http://awx.awx.ansible.com/awx>) created
17. 몇 분간 기다린 후 배포된 awx 인스턴스를 확인 합니다.
root@awxtest:~/awx-operator# watch kubectl get pods -l "[app.kubernetes.io/managed-by=awx-operator](<http://app.kubernetes.io/managed-by=awx-operator>)"
NAME                       READY   STATUS    RESTARTS   AGE
awx-postgres-0             1/1     Running   0          5m21s
awx-7447fbc4-2m5hc         4/4     Running   0          4m17s
18. 데이터베이스 데이터는 지속적으로 유지되며 아래 명령으로 확인 할 수 있습니다.
root@awxtest:~/awx-operator# kubectl get pvc
NAME                      STATUS   VOLUME                                     CAPACITY   ACCESS MODES   STORAGECLASS   AGE
postgres-awx-postgres-0   Bound    pvc-5a25b53f-23fd-4a5b-9300-705b0ac72b17   8Gi        RWO            local-path     6m41s
static-data-pvc           Bound    pvc-456a38c4-4a07-49e2-83dd-89192f257069   5Gi        RWO            local-path     9m38s
awx-projects-claim        Bound    pvc-0df1e8d1-fee6-4a4d-83a2-a2ca4822366e   8Gi        RWO            local-path     5m35s
root@awxtest:~/awx-operator#
19. 볼륨은 local-path-provisioner와 hostpath를 사용하여 생성됩니다.
root@awxtest:~/awx-operator# ls /var/lib/rancher/k3s/storage/
pvc-0df1e8d1-fee6-4a4d-83a2-a2ca4822366e_awx_awx-projects-claim
pvc-456a38c4-4a07-49e2-83dd-89192f257069_awx_static-data-pvc
pvc-5a25b53f-23fd-4a5b-9300-705b0ac72b17_awx_postgres-awx-postgres-0
20. awx pod는 아래와 같은 4개의 컨테이너를 가지고 있습니다.
kubectl -n awx  logs deploy/awx -c redis
kubectl -n awx  logs deploy/awx -c awx-web
kubectl -n awx  logs deploy/awx -c awx-task
kubectl -n awx  logs deploy/awx -c awx-ee
21. 아래 명령을 통해 awx 서비스를 확인하고 접근 가능한 nodeport를 확인합니다. (30080포트입니다.)
root@awxtest:~/awx-operator# kubectl get svc -l "[app.kubernetes.io/managed-by=awx-operator](<http://app.kubernetes.io/managed-by=awx-operator>)"
NAME           TYPE        CLUSTER-IP     EXTERNAL-IP   PORT(S)        AGE
awx-postgres   ClusterIP   None                   5432/TCP       11m
awx-service    NodePort    10.43.28.185           80:30080/TCP   10m
22. web을 실행하여 web에 접근 합니다.
http://hostip_or_hostname:**30080 // http://awx설치서버IP:3080**

23. 초기 admin 암호를 확인하기 위해 아래 명령을 사용합니다. 첫번째 명령보다는 두번째 명령이 좋습니다.
root@awxtest:~/awx-operator# kubectl get secret awx-admin-password -o jsonpath="{.data.password}" | base64 --decode
yLZf9hDaszcoE6DNIF5GQVR4yohnFwYYroot@awxtest:~/awx-operator#
root@awxtest:~/awx-operator# kubectl get secret awx-admin-password -o go-template='{{range $k,$v := .data}}{{printf "%s: " $k}}{{if not $v}}{{$v}}{{else}}{{$v | base64decode}}{{end}}{{"\\n"}}{{end}}'
password: yLZf9hDaszcoE6DNIF5GQVR4yohnFwYY
24. 확인한 암호를 복사하여 web에 로그인 합니다.


25. awx cli에서 node 리소스를 확인하는 방법은 아래와 같습니다.
root@awxtest:~/awx-operator# kubectl top nodes --use-protocol-buffers
NAME      CPU(cores)   CPU%   MEMORY(bytes)   MEMORY%
awxtest   102m         2%     2717Mi          16%
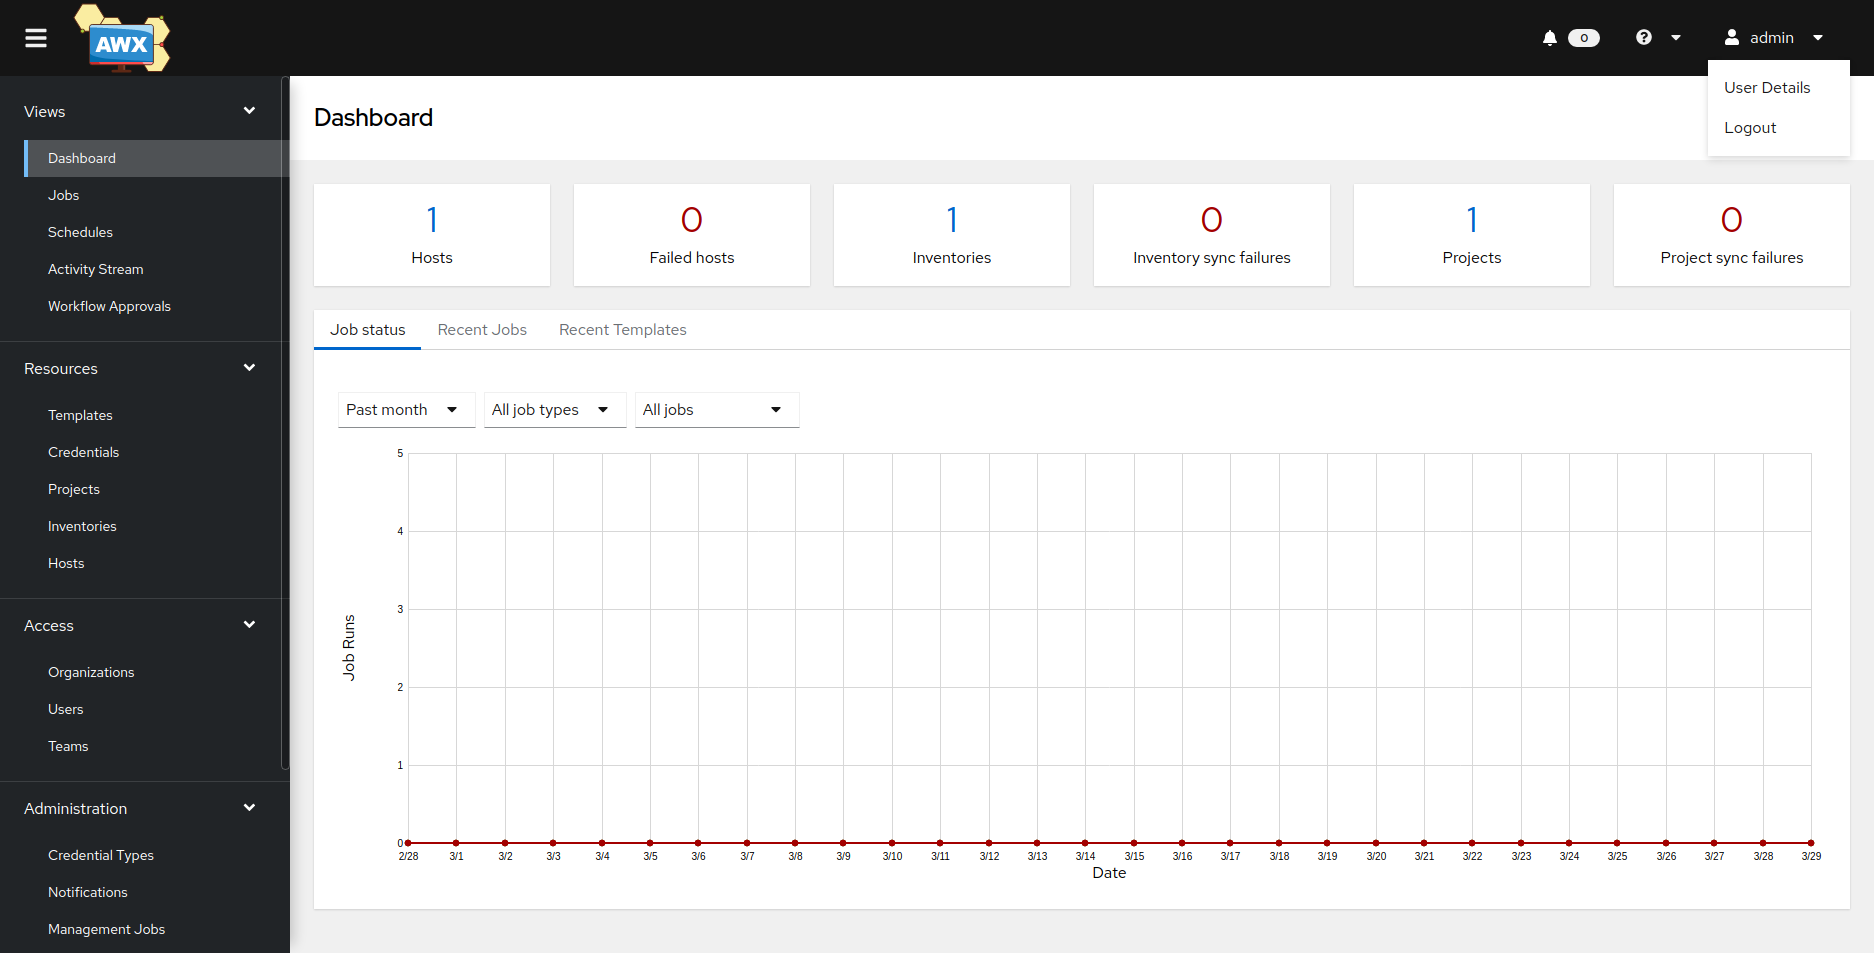
26. Admin 암호는 web을 통하여 변경 가능합니다. 우측 상단 admin 을 클릭하여 User Details를 선택합니다.


27. Edit를 선택하여 암호를 변경 후 Save를 클릭합니다.

댓글